Adding a Foundation
After spending a few days figuring out the sequencing for the build, I’ve decided that now is as good a time as any to work on the floor. From what I’ve gathered by watching others, the most common method seems to involve gluing down wood furring strips that match the height of a rigid closed cell insulation board, like Owens Corning XPS. This material is tough, mold-resistant, water proof and easy to cut. Depending on the thickness, it also has some insulation value.
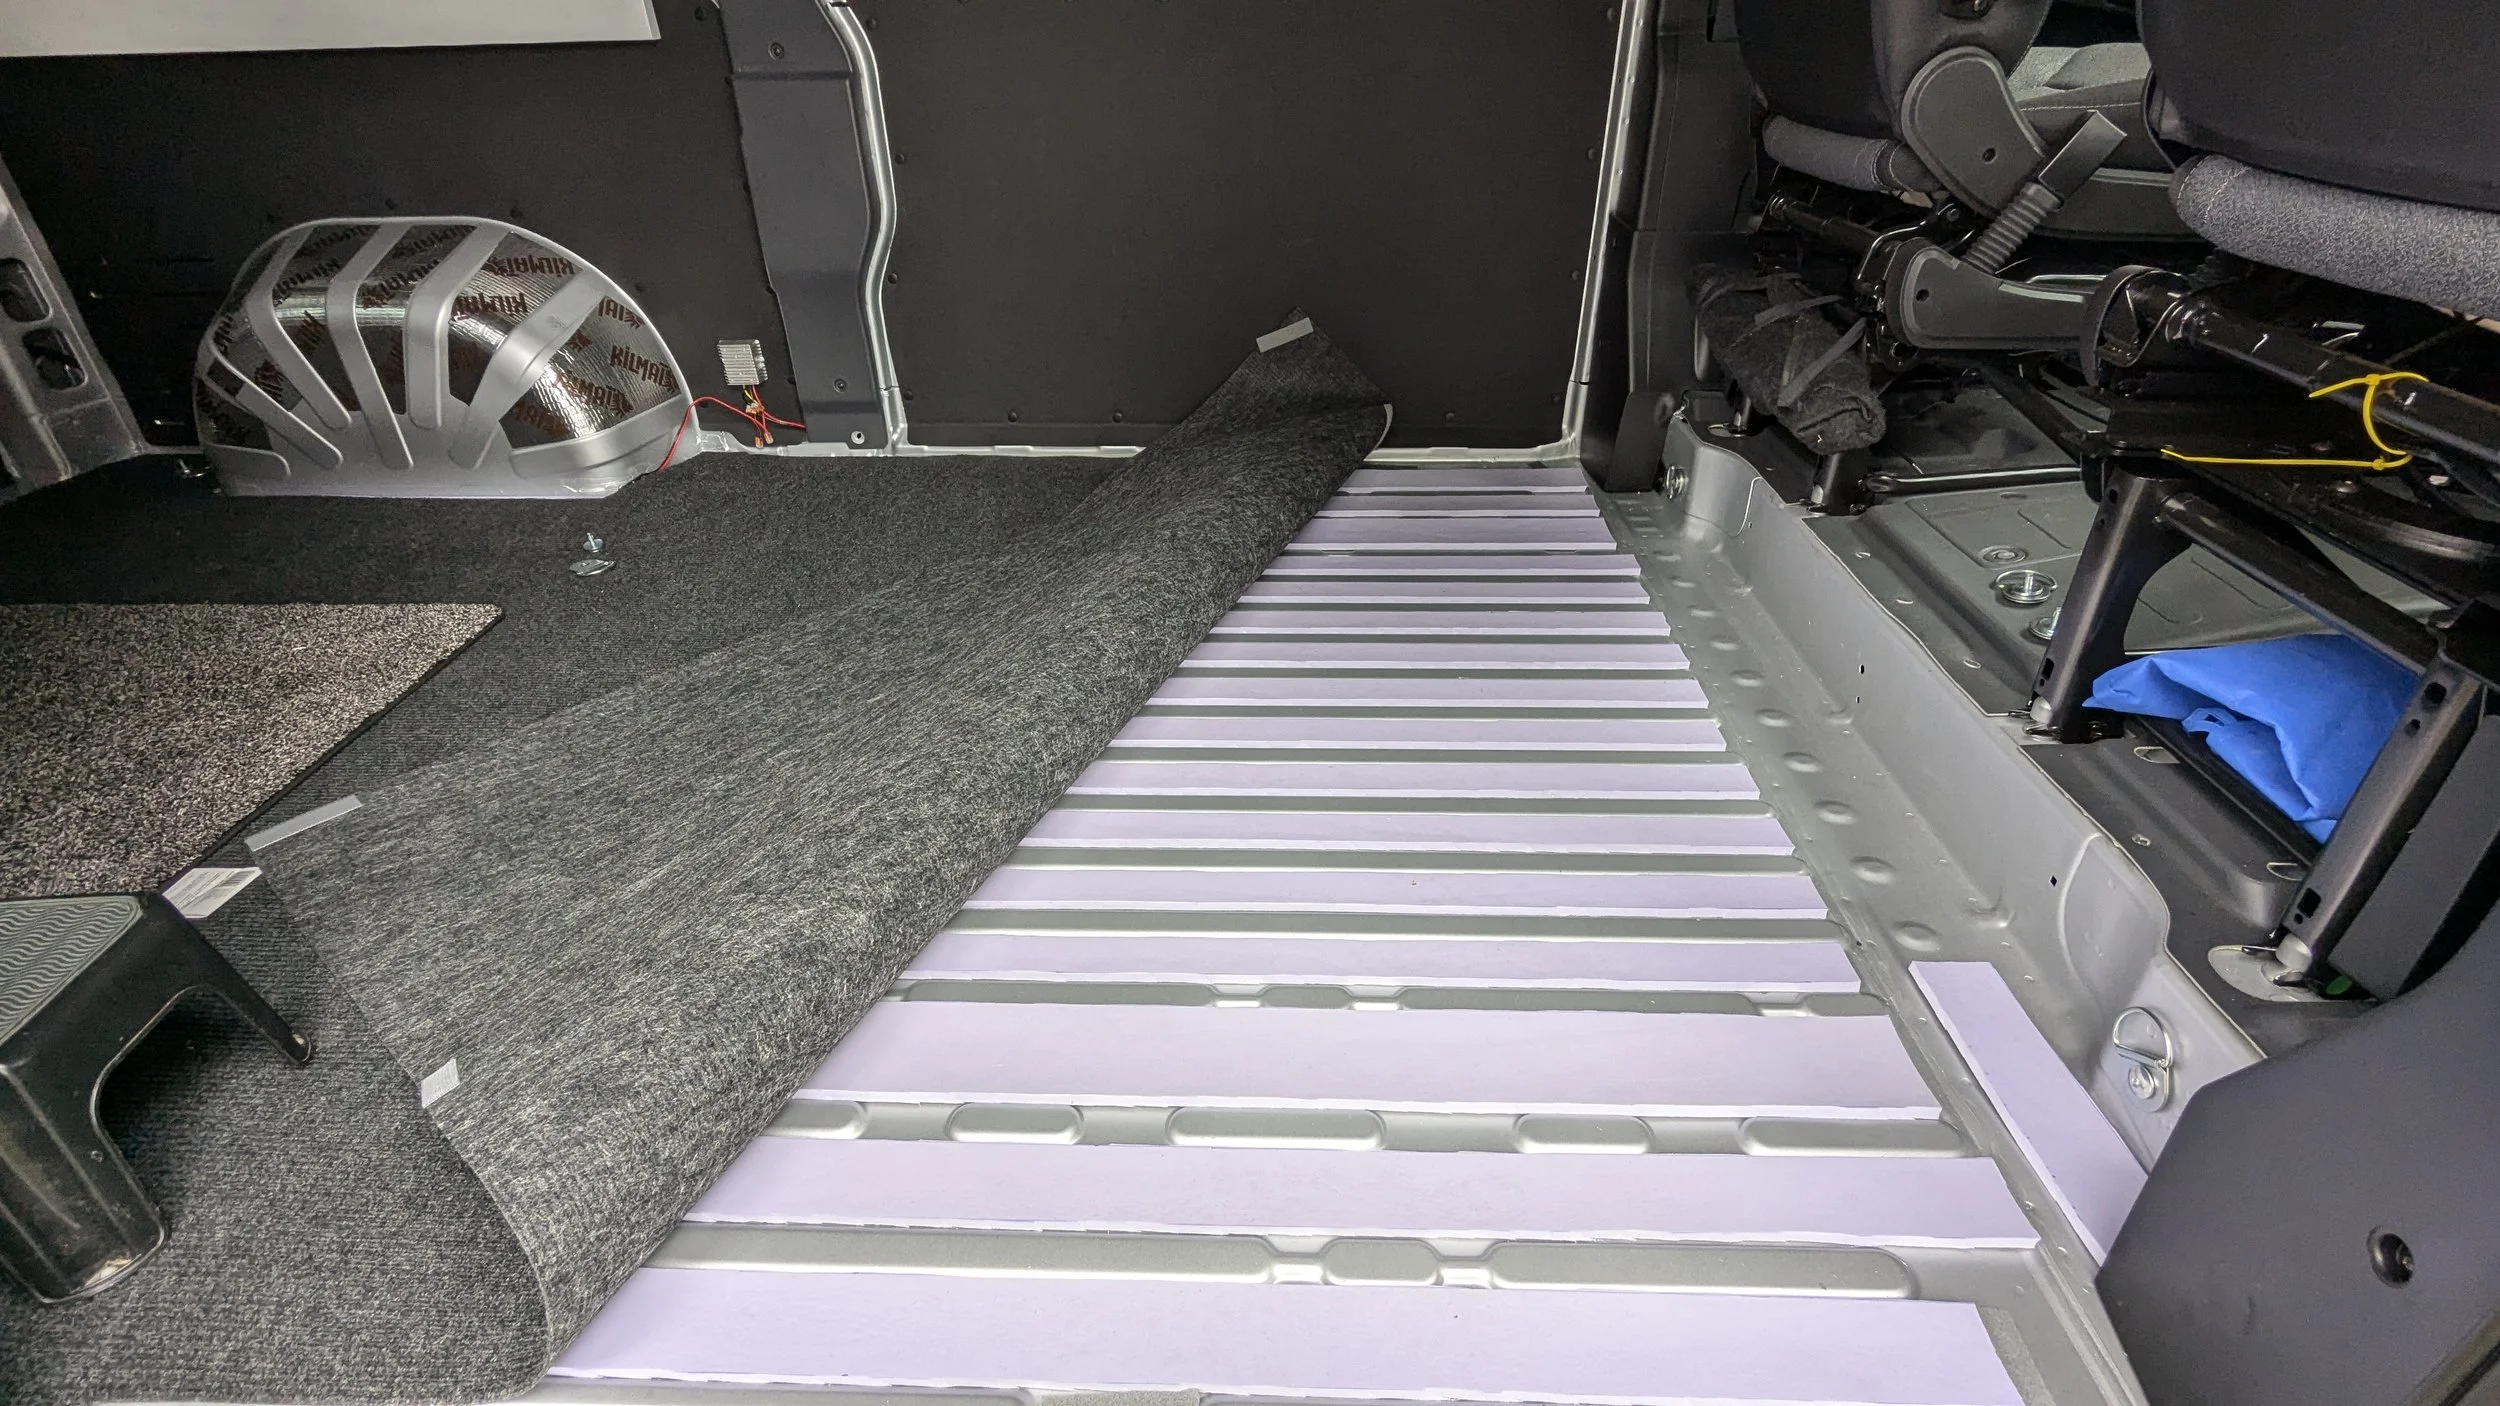
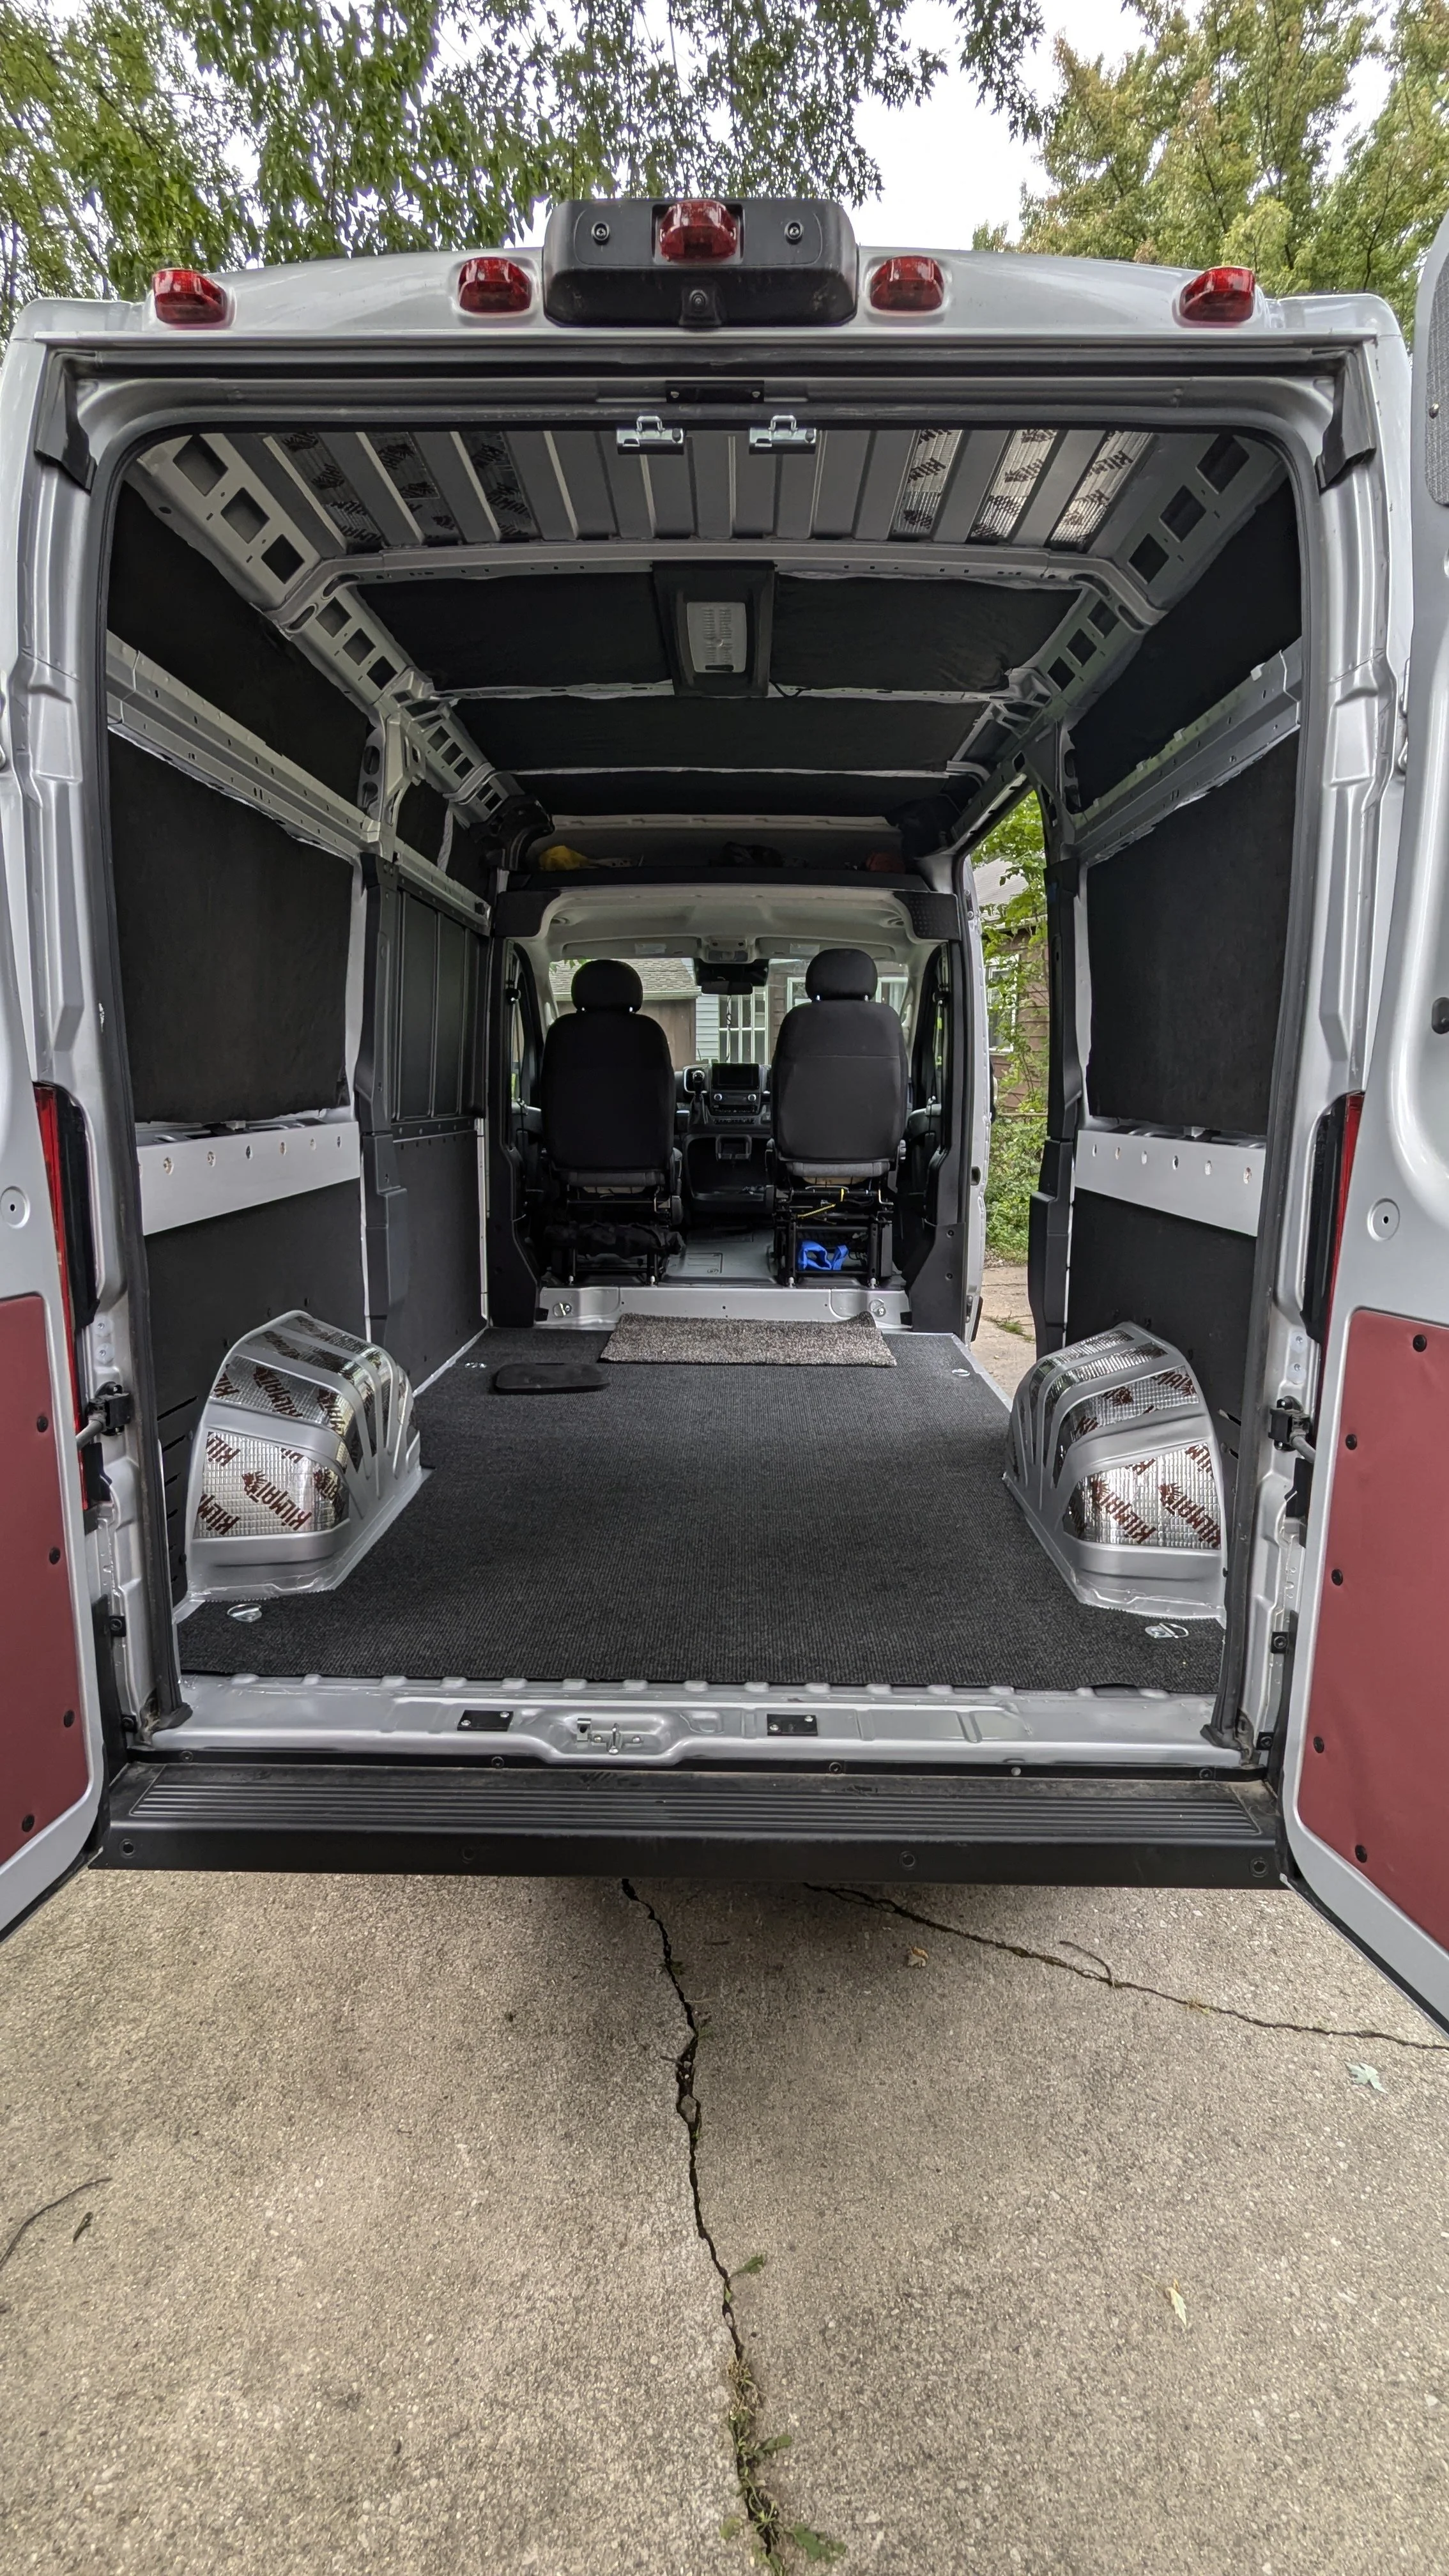
My plan is to stick with the most modular approach (again). Since the floor of the van has corrugated ridges, I filled the low spots with strips of waterproof carpeting underlayment. Then I cut 1/2” foam board to fit the shape of the entire floor. I needed three 4 x 8 sheets to accomplish this.
Next up will be either 1/2” or 3/4” plywood. This will be glued to the foam board, and then held to the metal flooring with the six factory tie down bolts and a few additional bolts which will secure L-Track strips. The L-Track pattern will be aligned so that furniture, coolers, batteries - anything heavy - gets secured properly not only to the floor but also the adjacent walls.
For the actual flooring that anyone will see, my plan right now is to use a durable rubber coin mat for the garage area under the bed and then a vinyl laminate on the floor in the front area (where a person will actually walk).
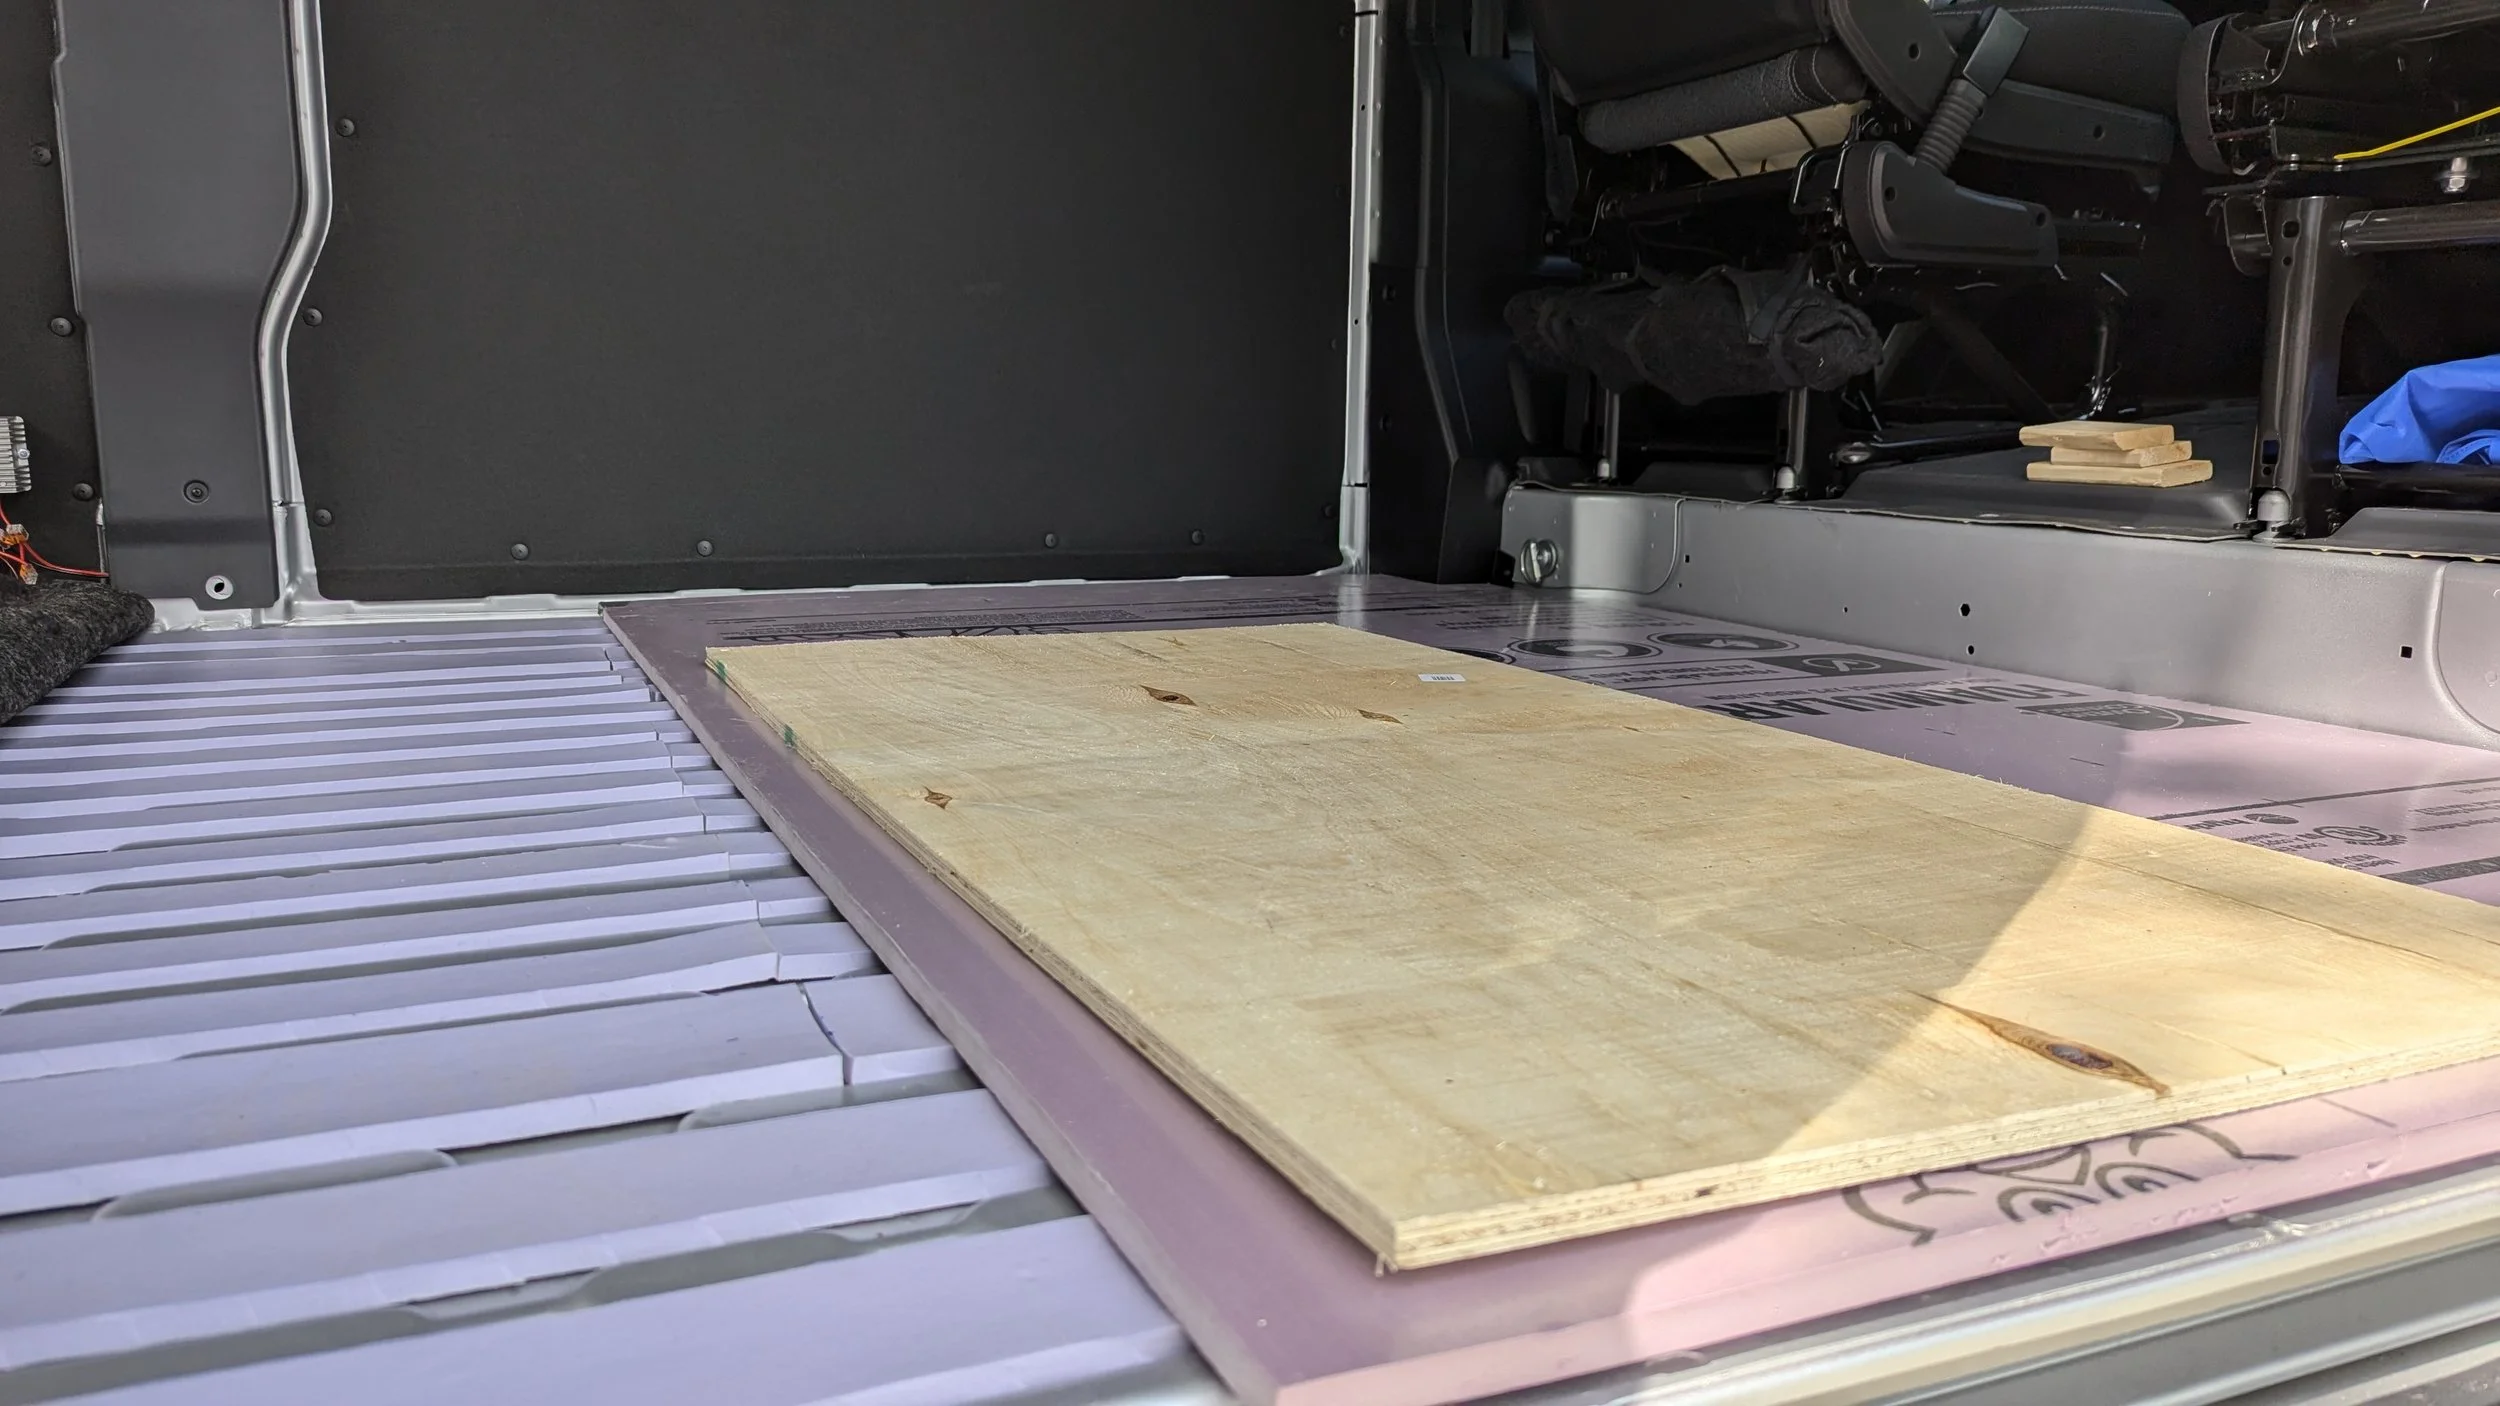
This is the floor sandwich concept (scrap piece of plywood shown here). Still deciding on the exact brand to buy.
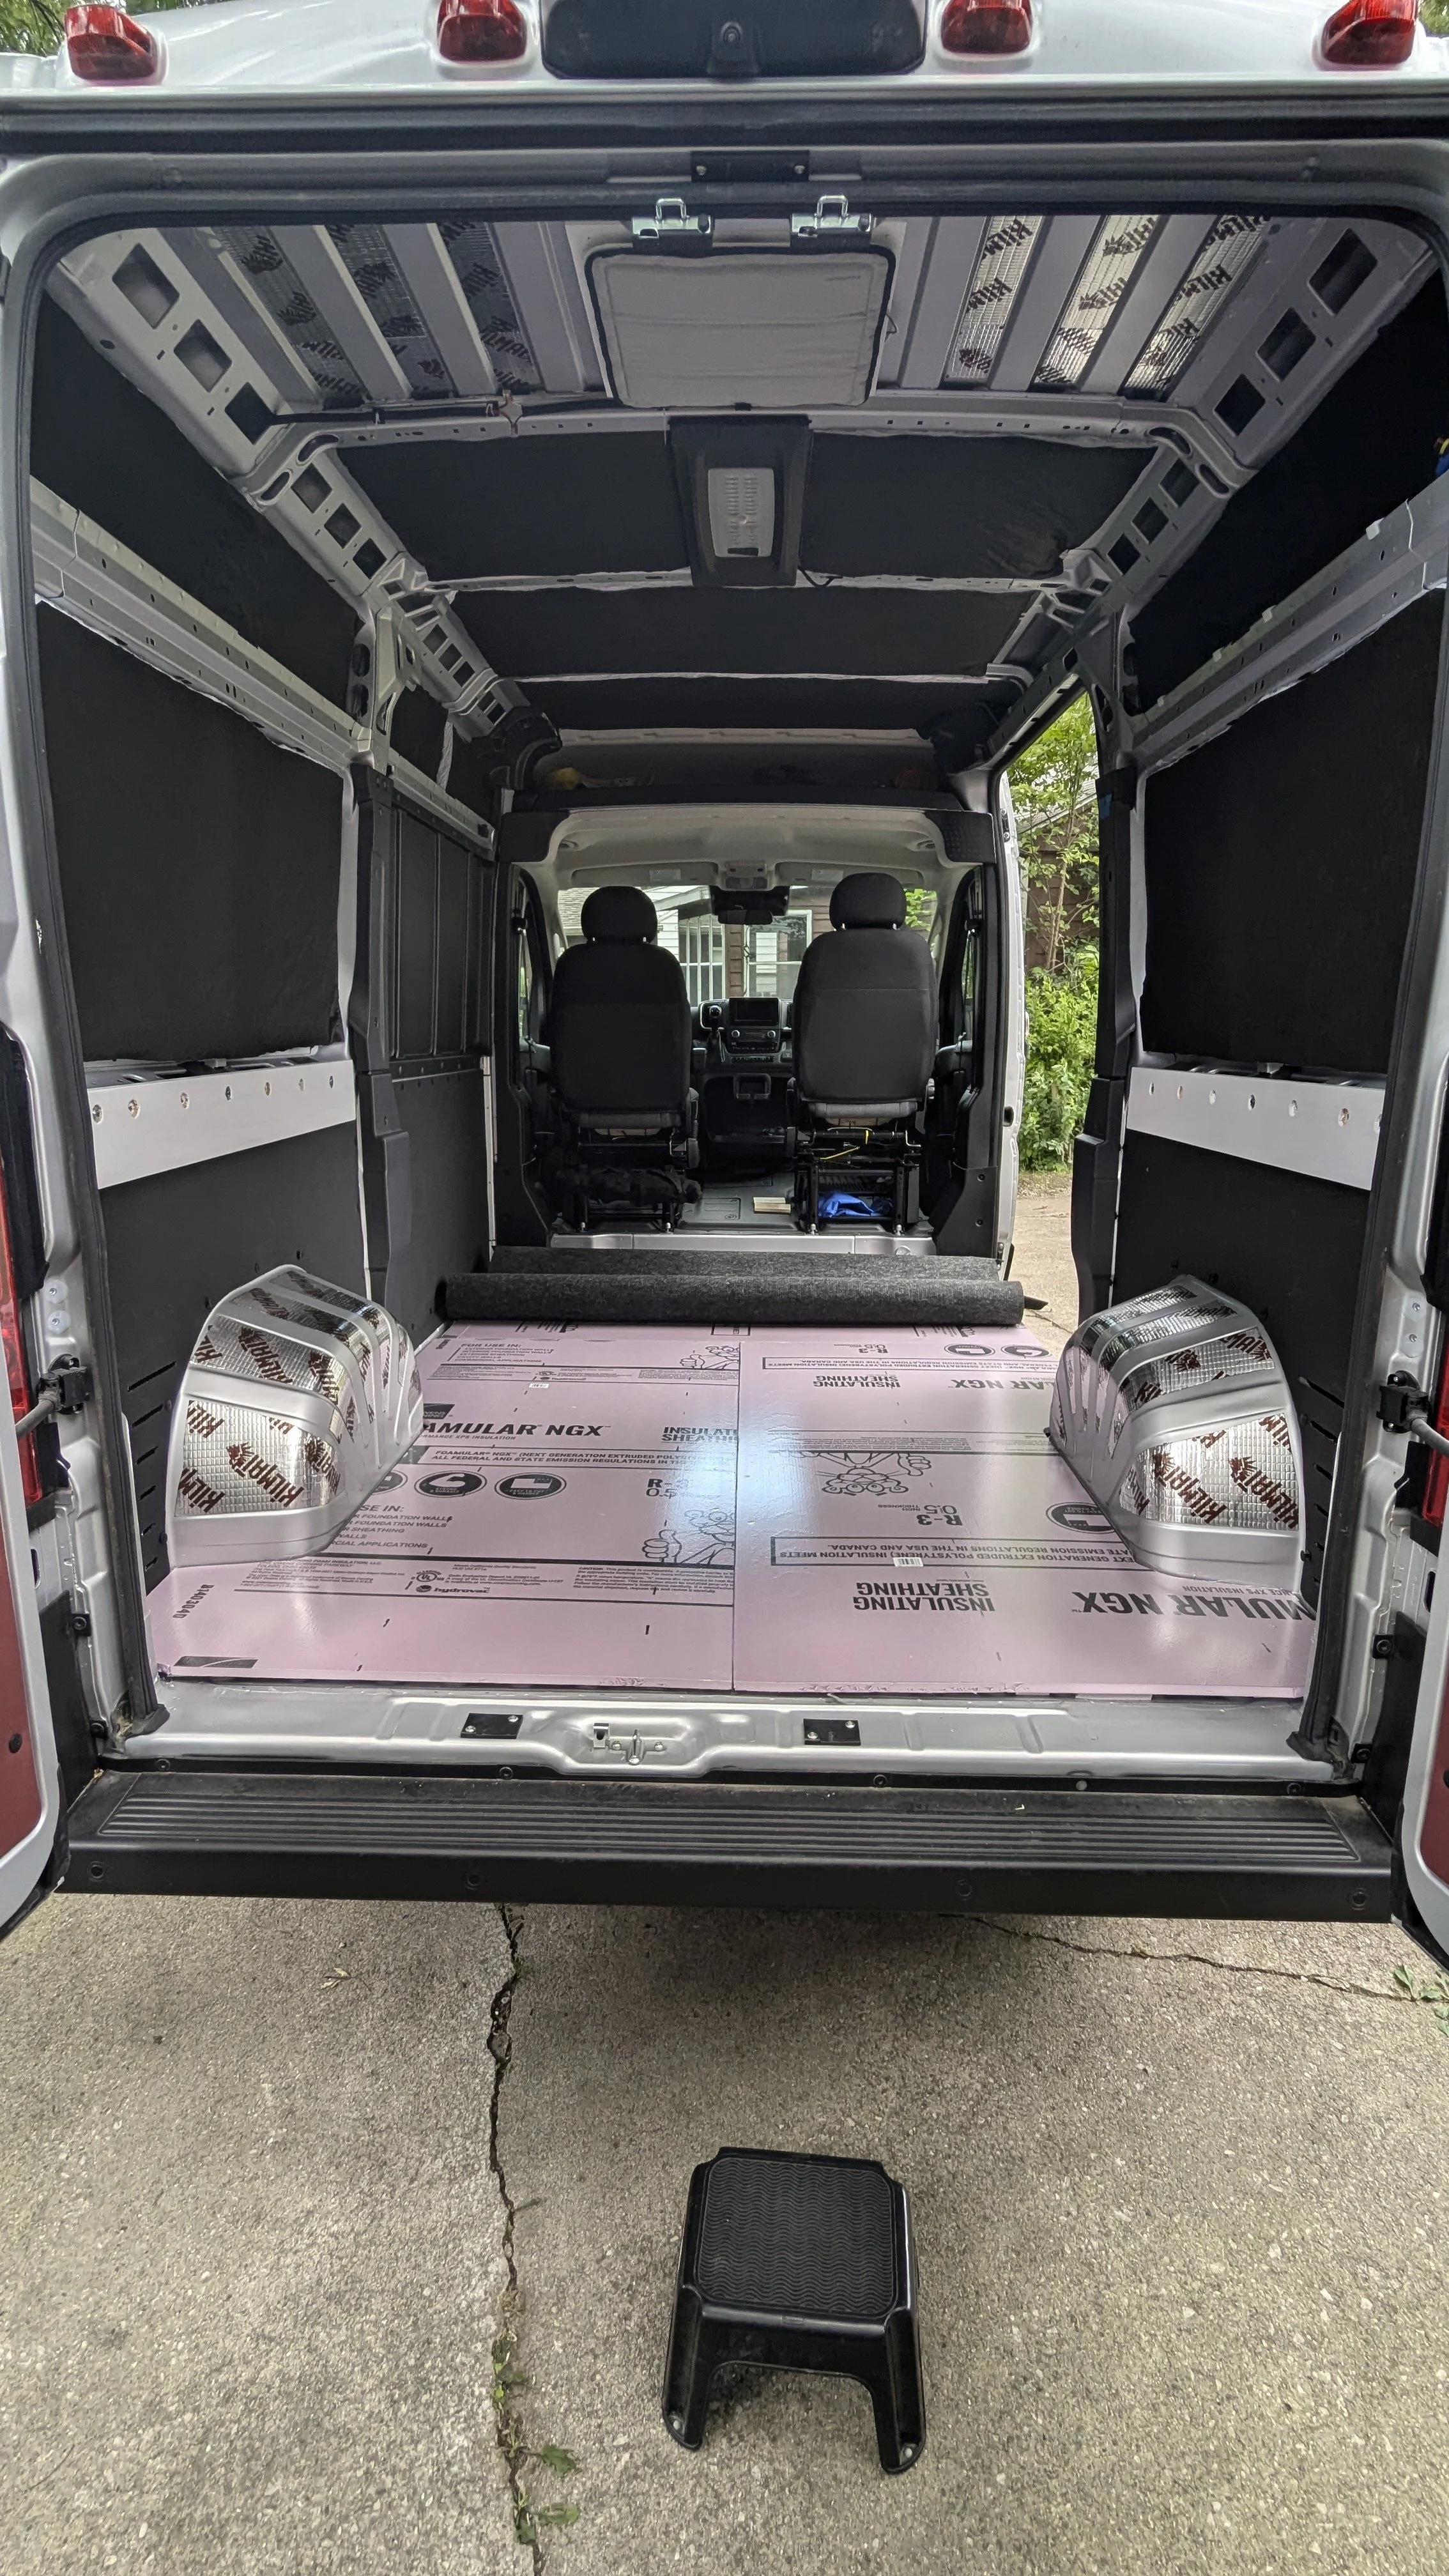
The foam boards are snugged into place.
I’ve rolled the temporary carpet over the foam board. My only long term concerns are any compression before I get the plywood installed and any squeakiness from the foam. So far so good.
Interesting side note: lots of people use or recommend Baltic Birch plywood. That is nearly impossible to source since the Russia-Ukraine War. Some of the big box hardware store products are not very good. My plan is to prime and waterproof whatever product I buy, but I’ll still spend a minute over-researching this.

