Born in the Sixties

My lifestyle, travel and motorcycling blog, focused on places to go and rides to try, with Michigan as a starting point.

  • Home
  • Stories
  • Features
    • A Healthy Life
    • Van Life
    • Auto Biography
    • My Top 25 Songs
  • About

March Madness

March 15, 2025 by David Snodgrass

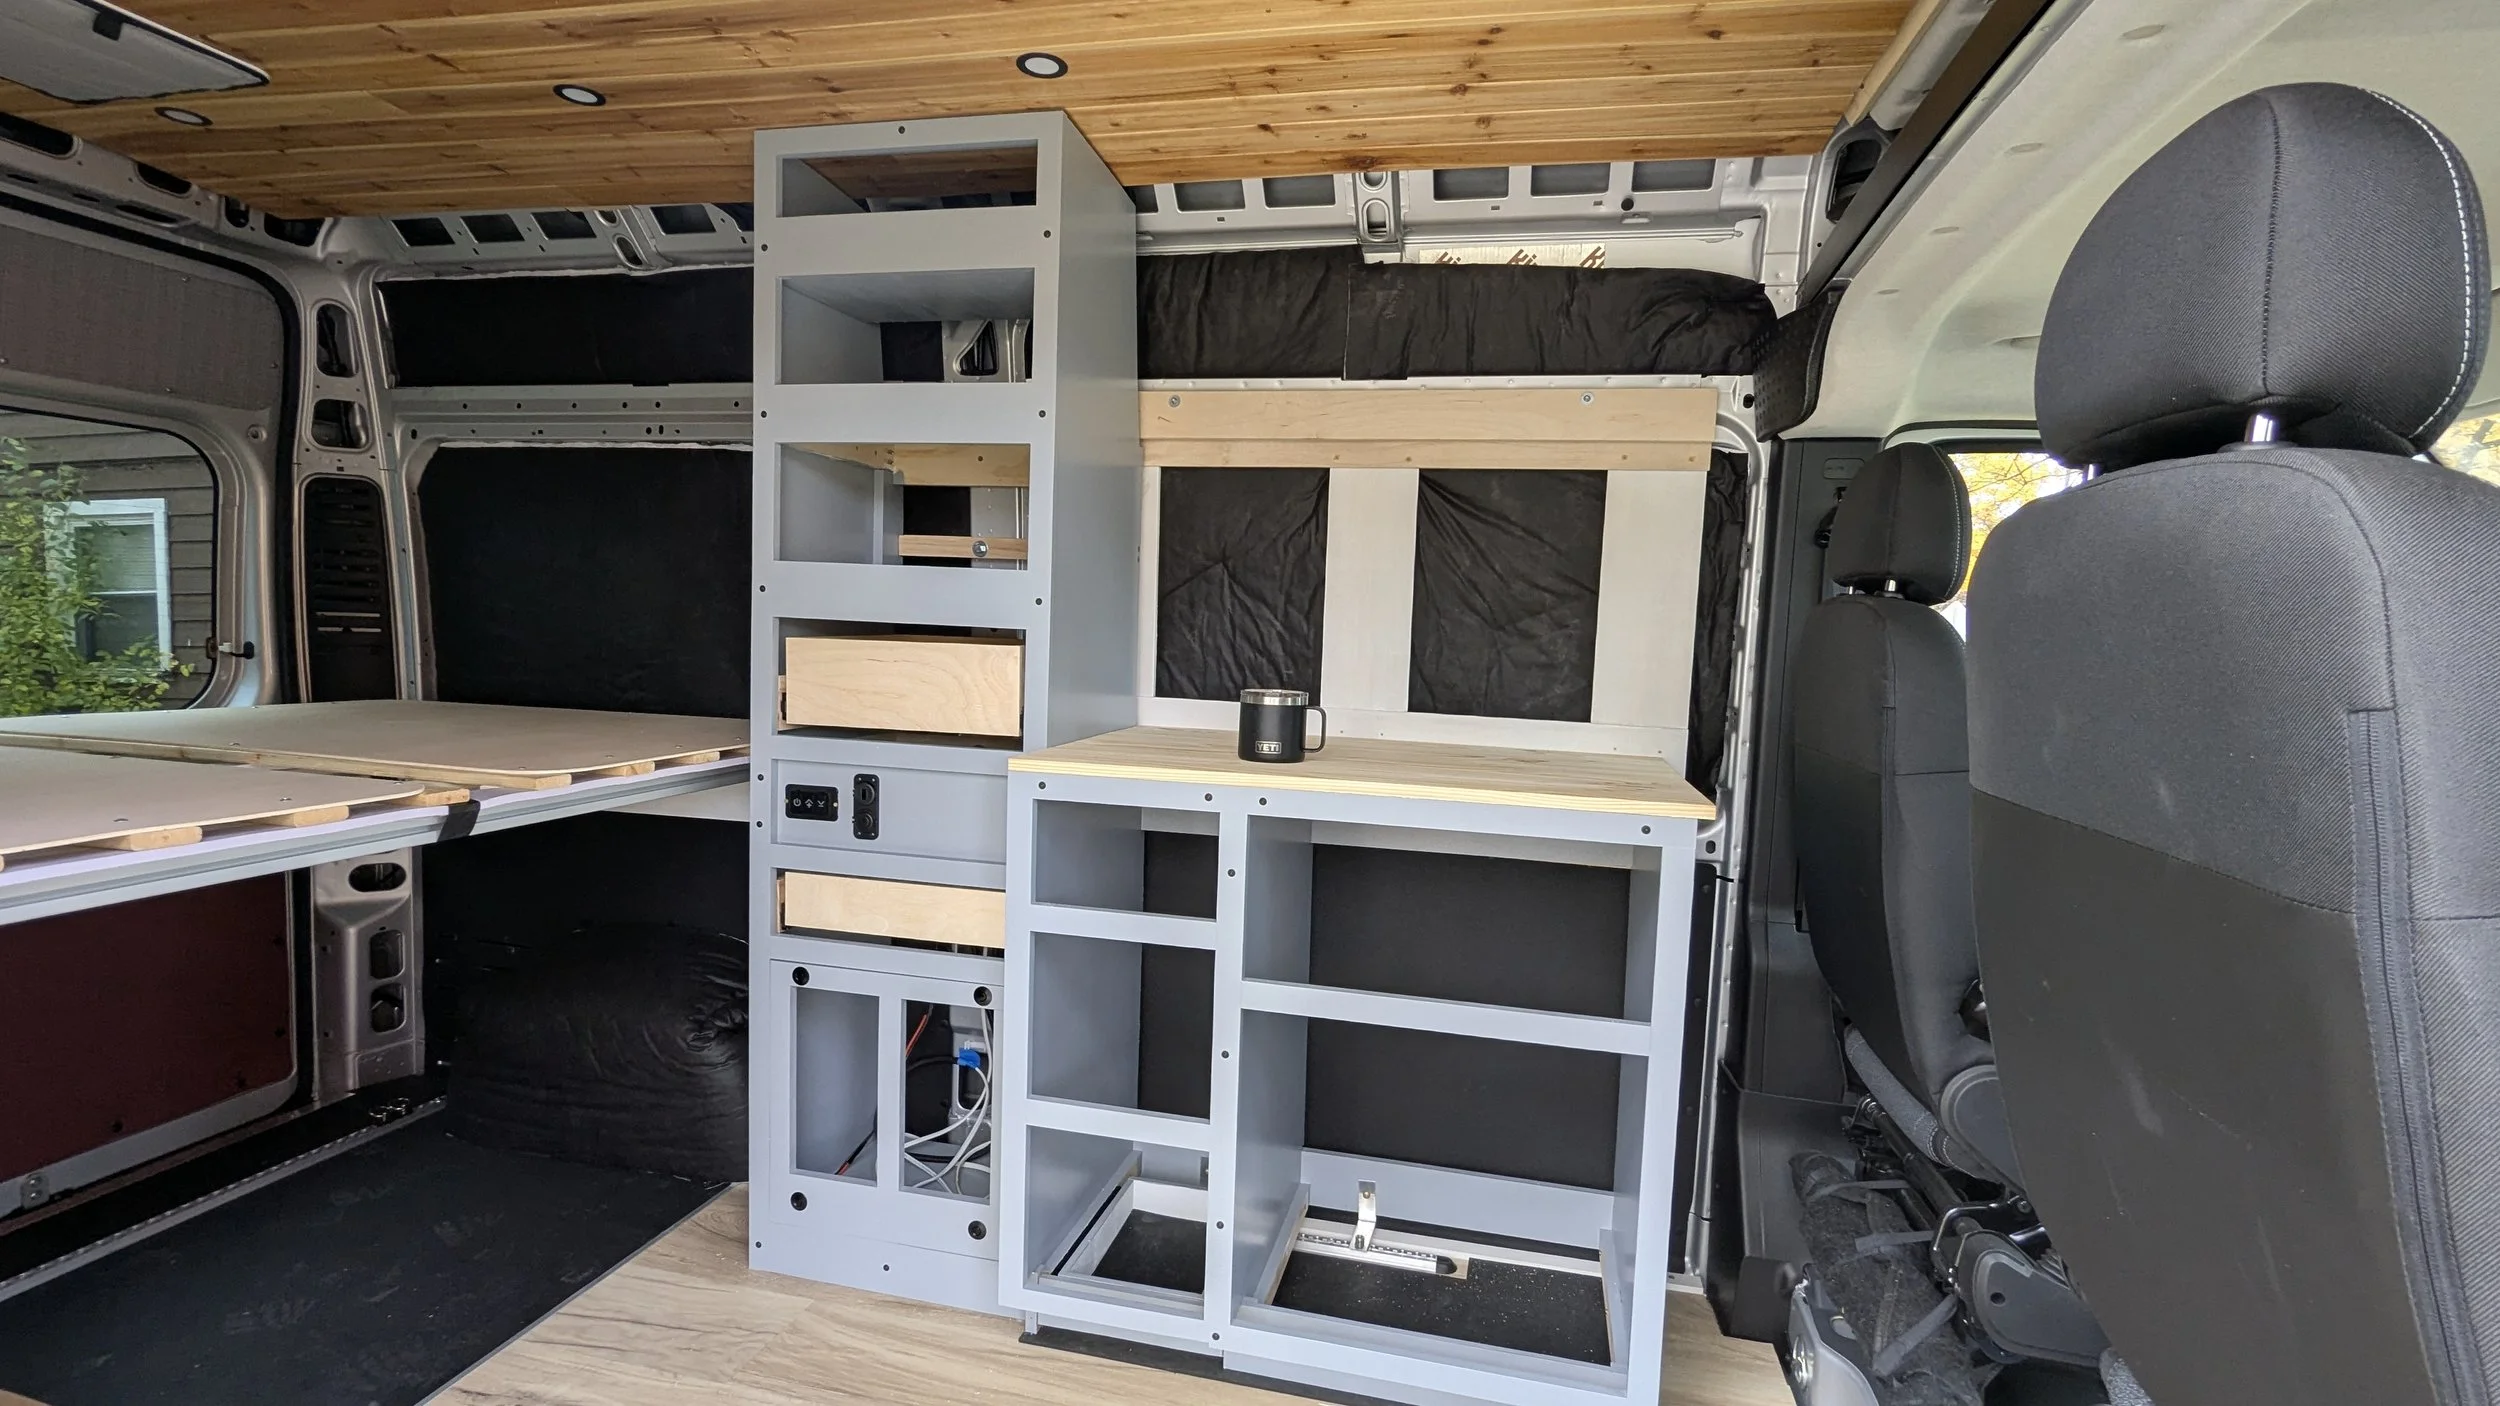
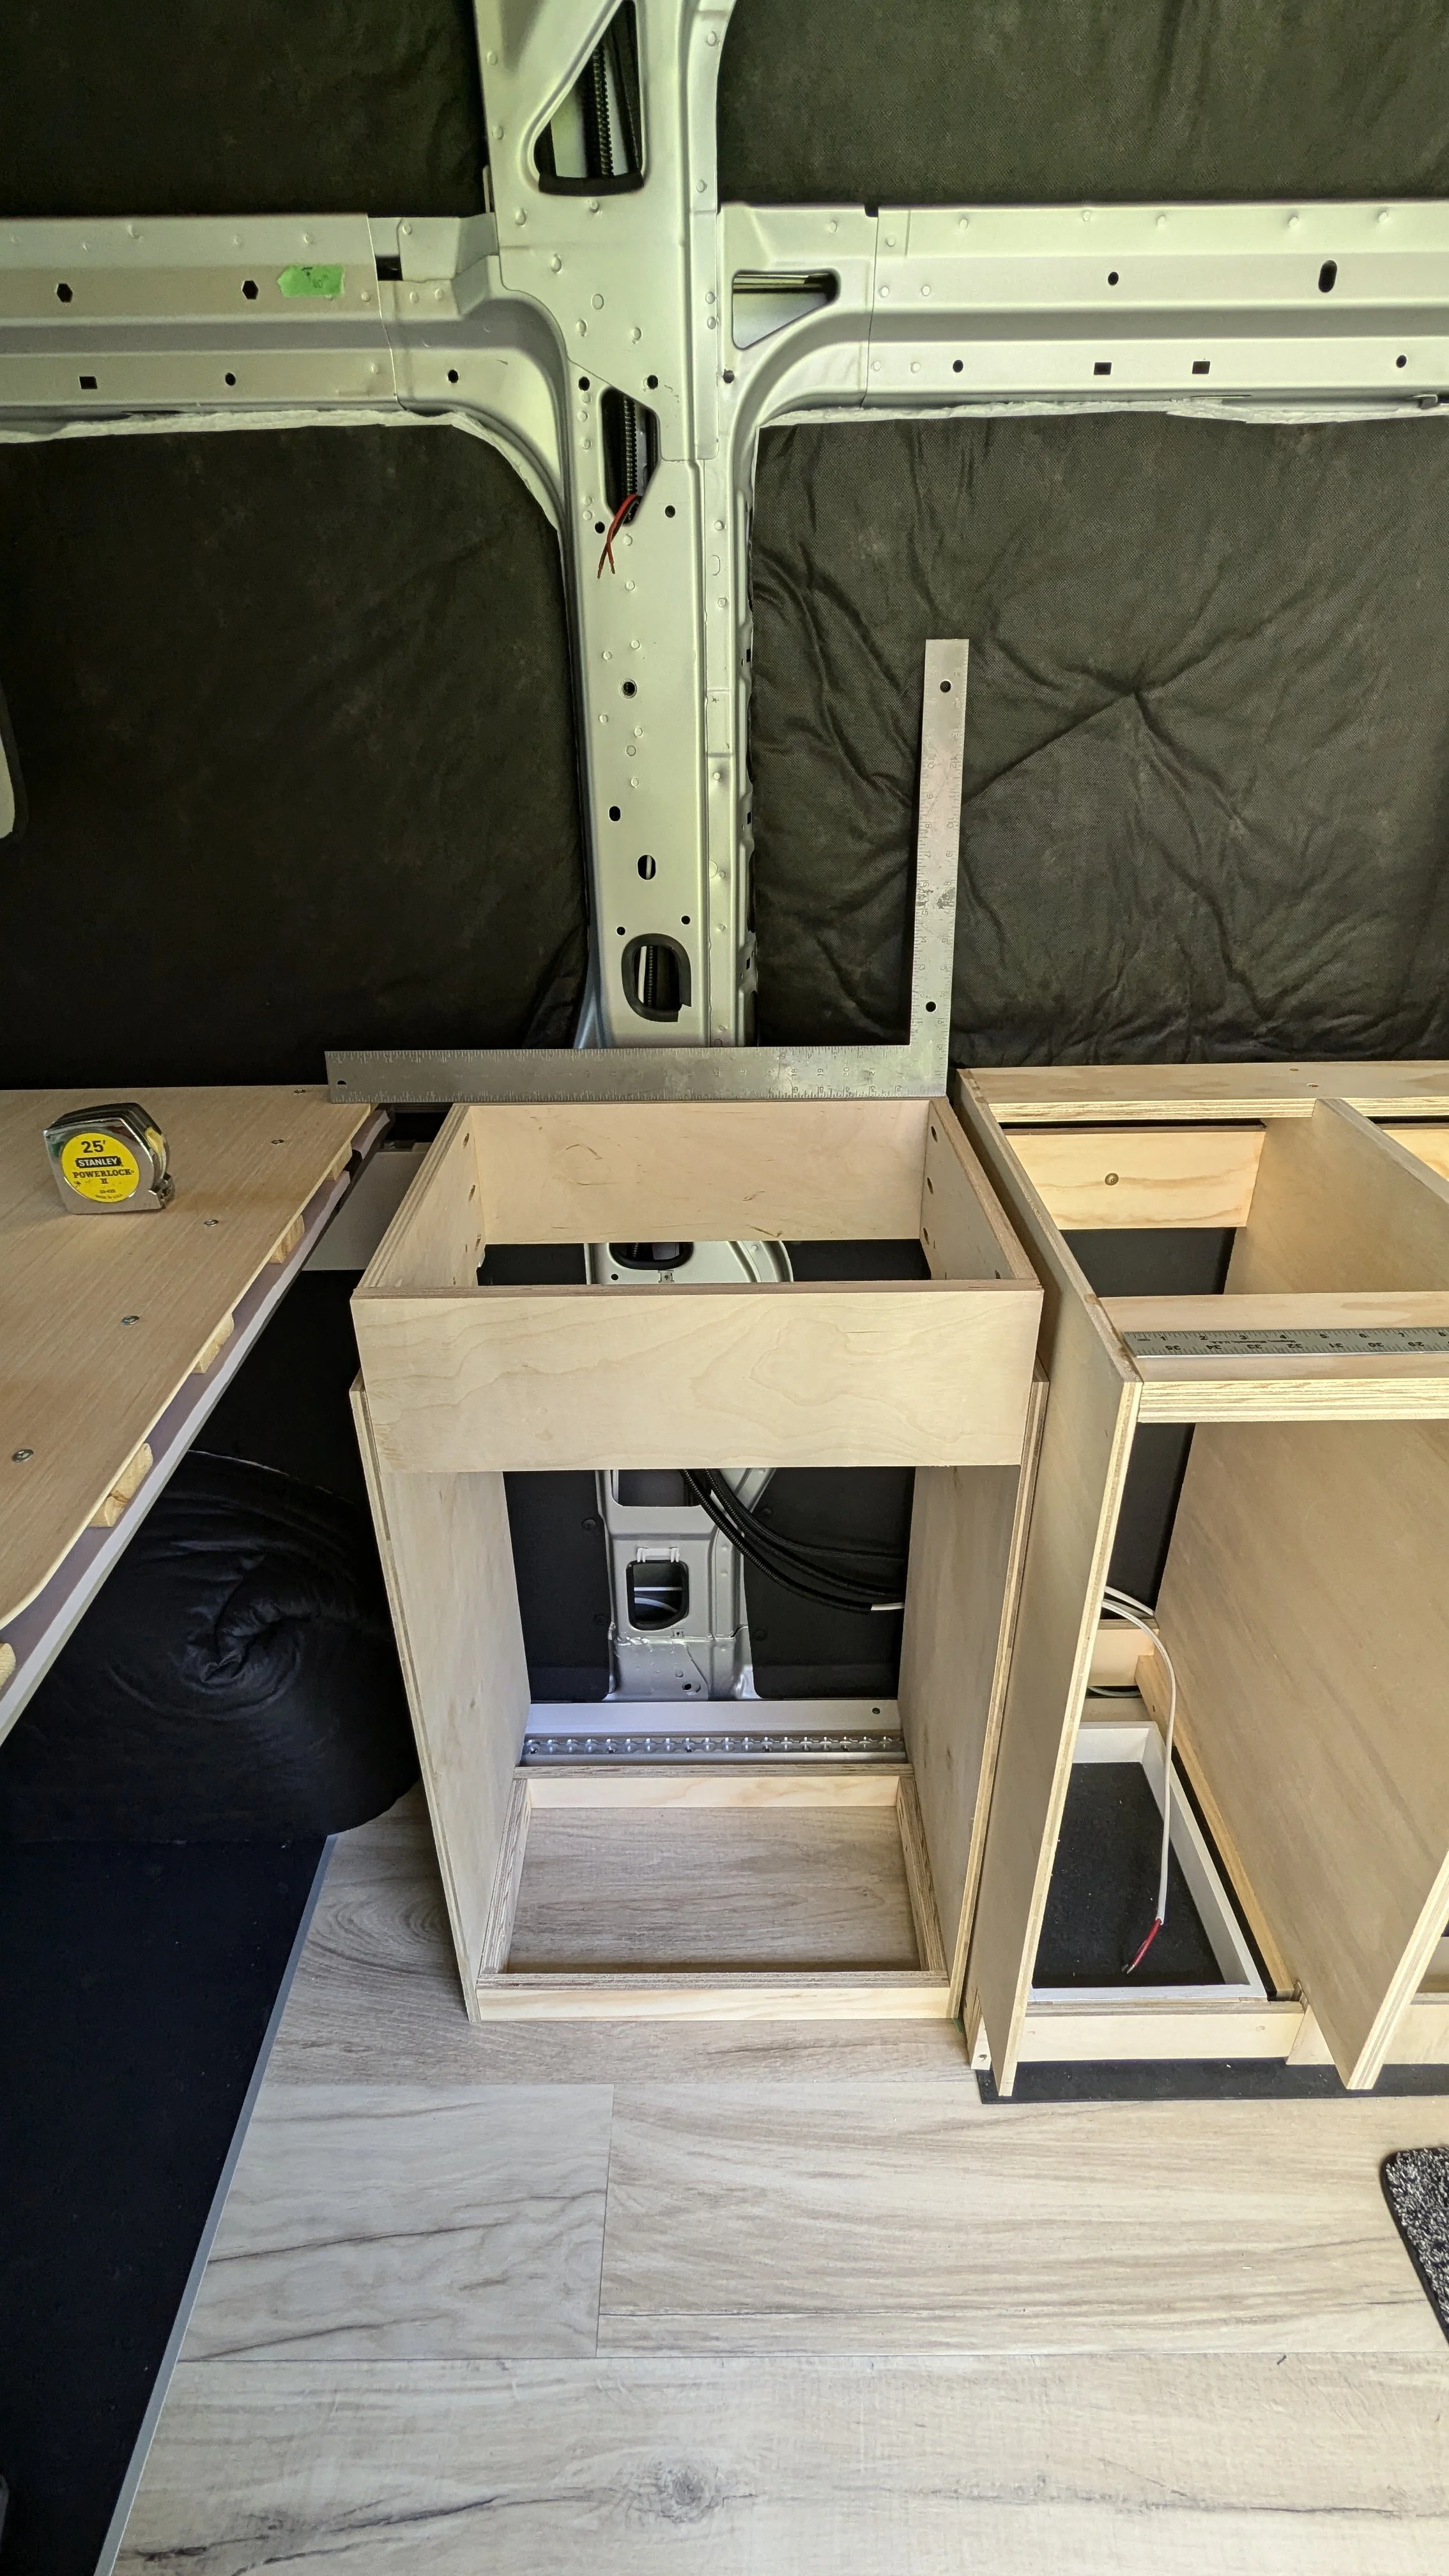
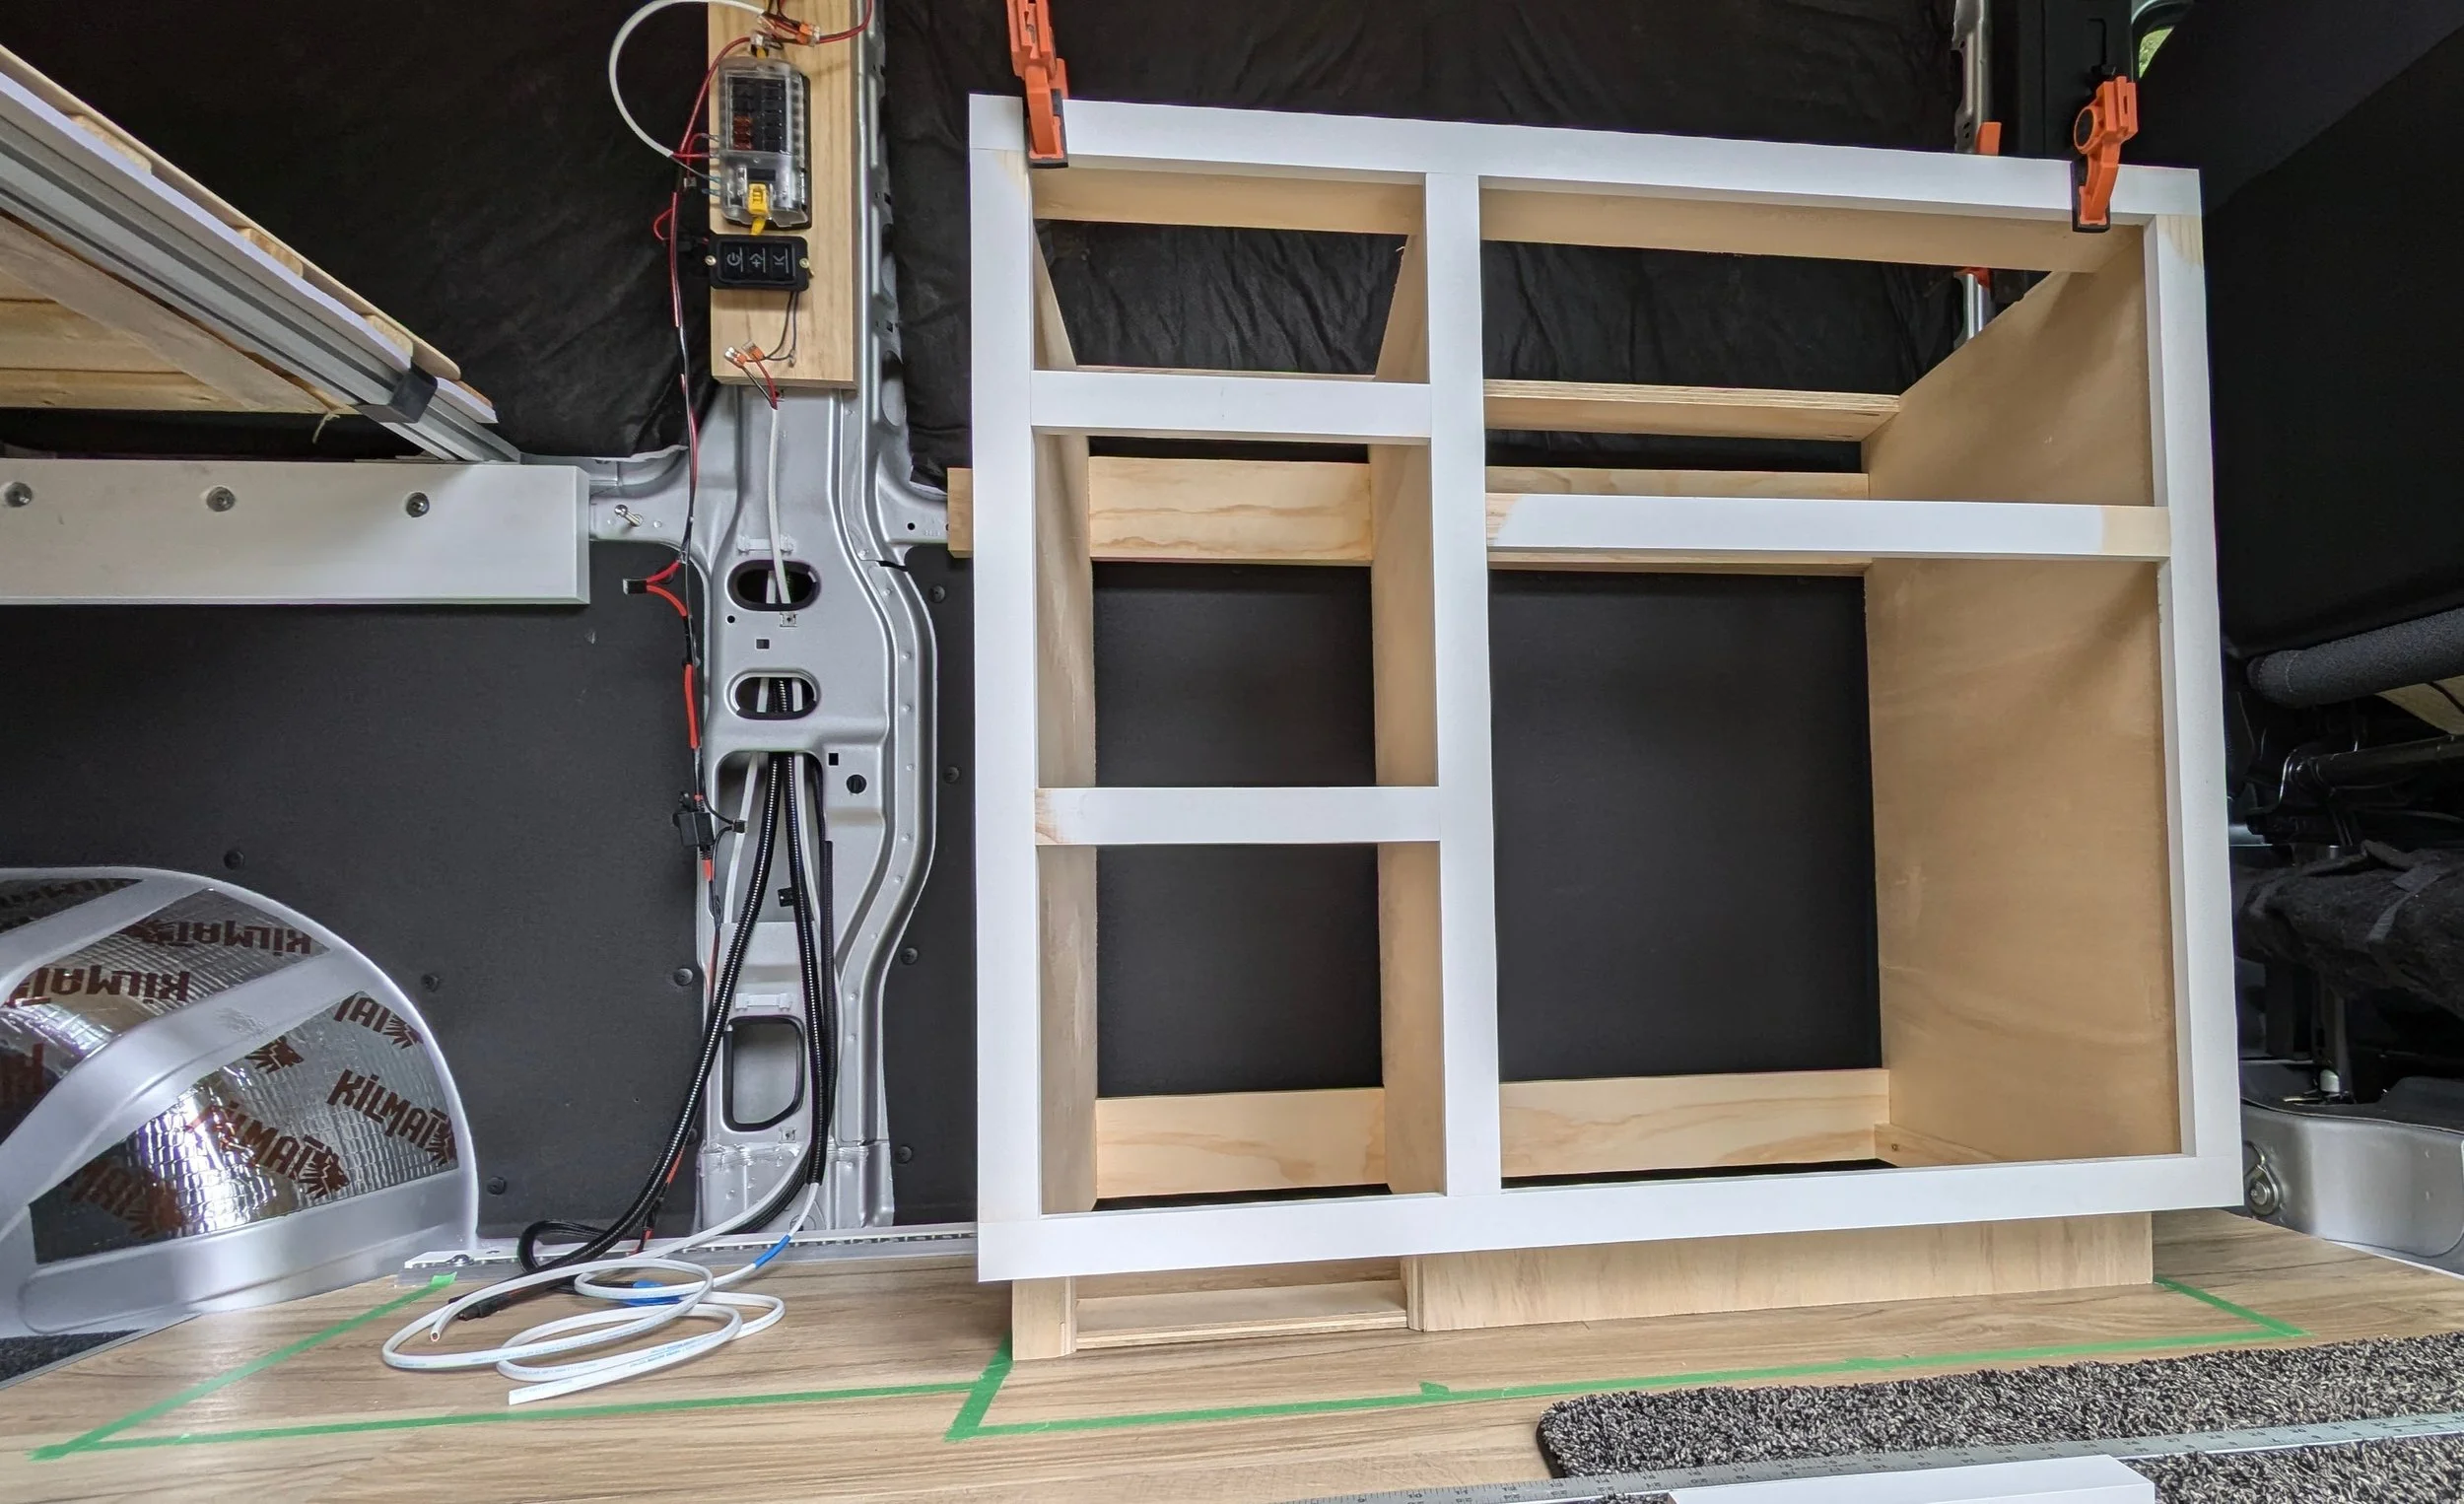
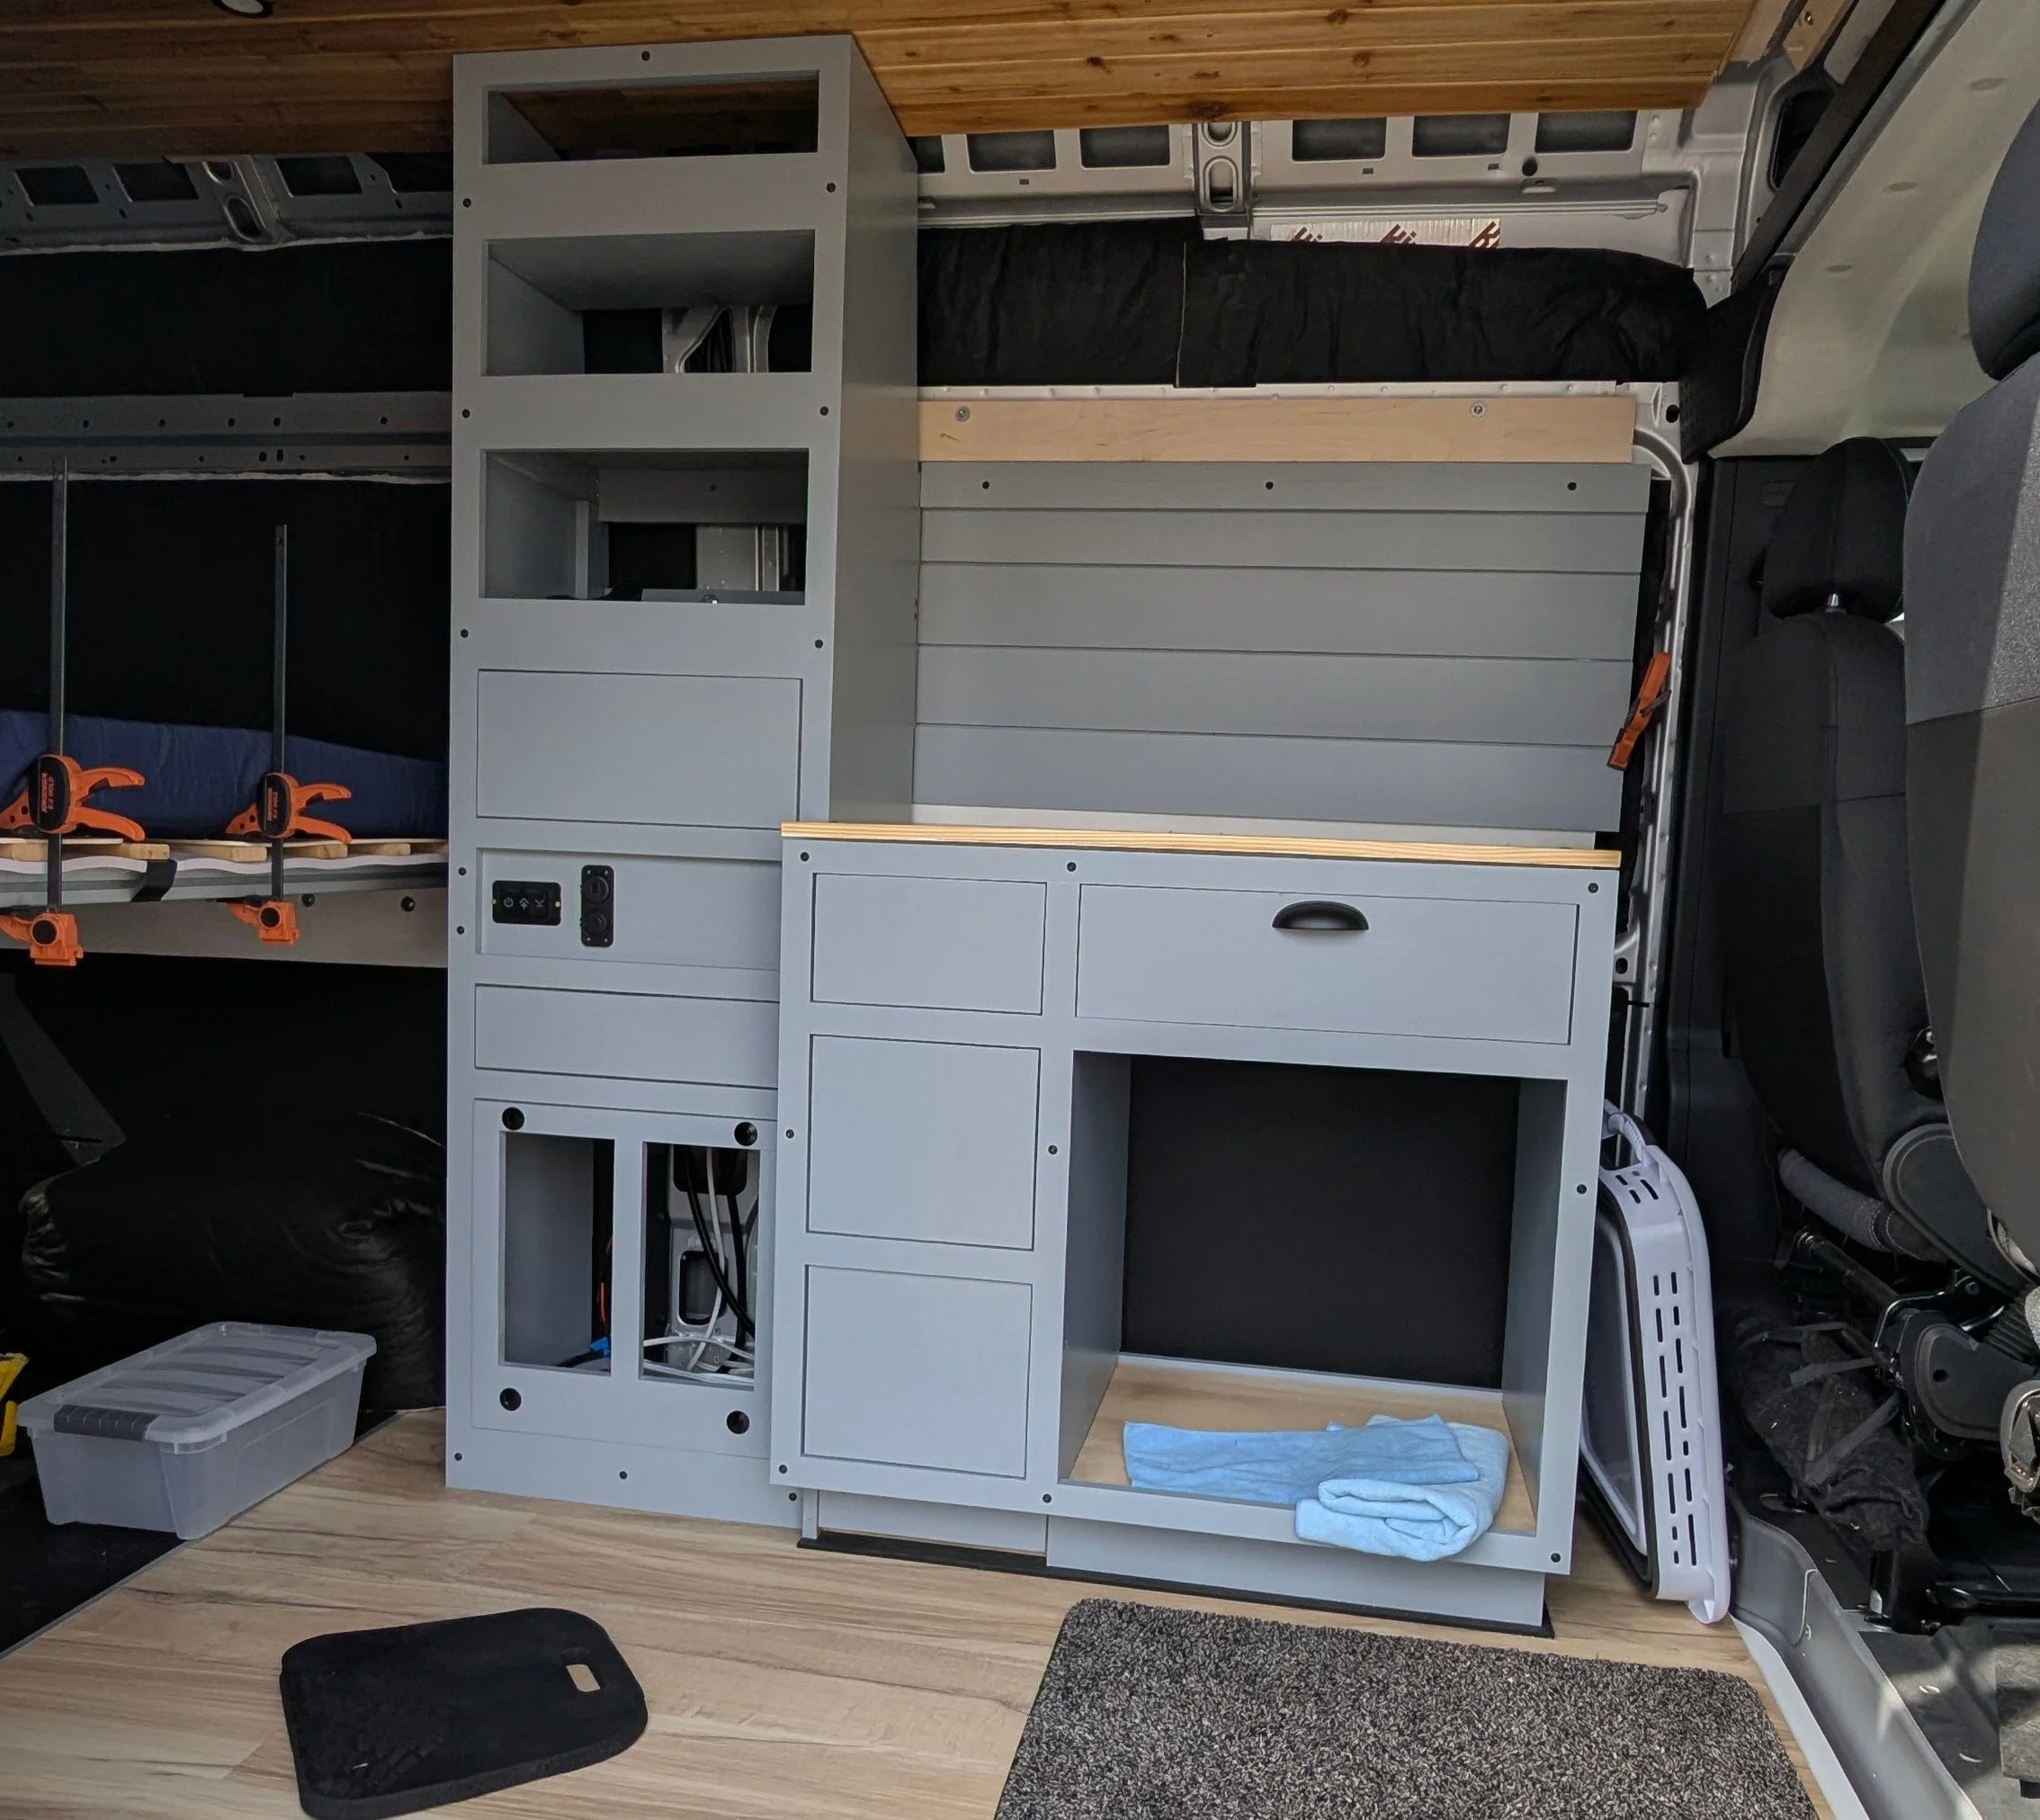
After a brief 3 month hiatus, I’m back at it. And with a quick (and warm) afternoon, I installed the last two drawer slides and finalized the faces. All of the drawers are the same push to open style and they do a good job of staying closed while driving. The only handle on the face is for a tip out style storage area. The big open area will be used for camping supply store, either for coolers or possibly even a chuck box. Also, the counter top is still just a temporary hunk of wood. Once I get the upper cabinet installed, I’ll swap in the final birch counter.

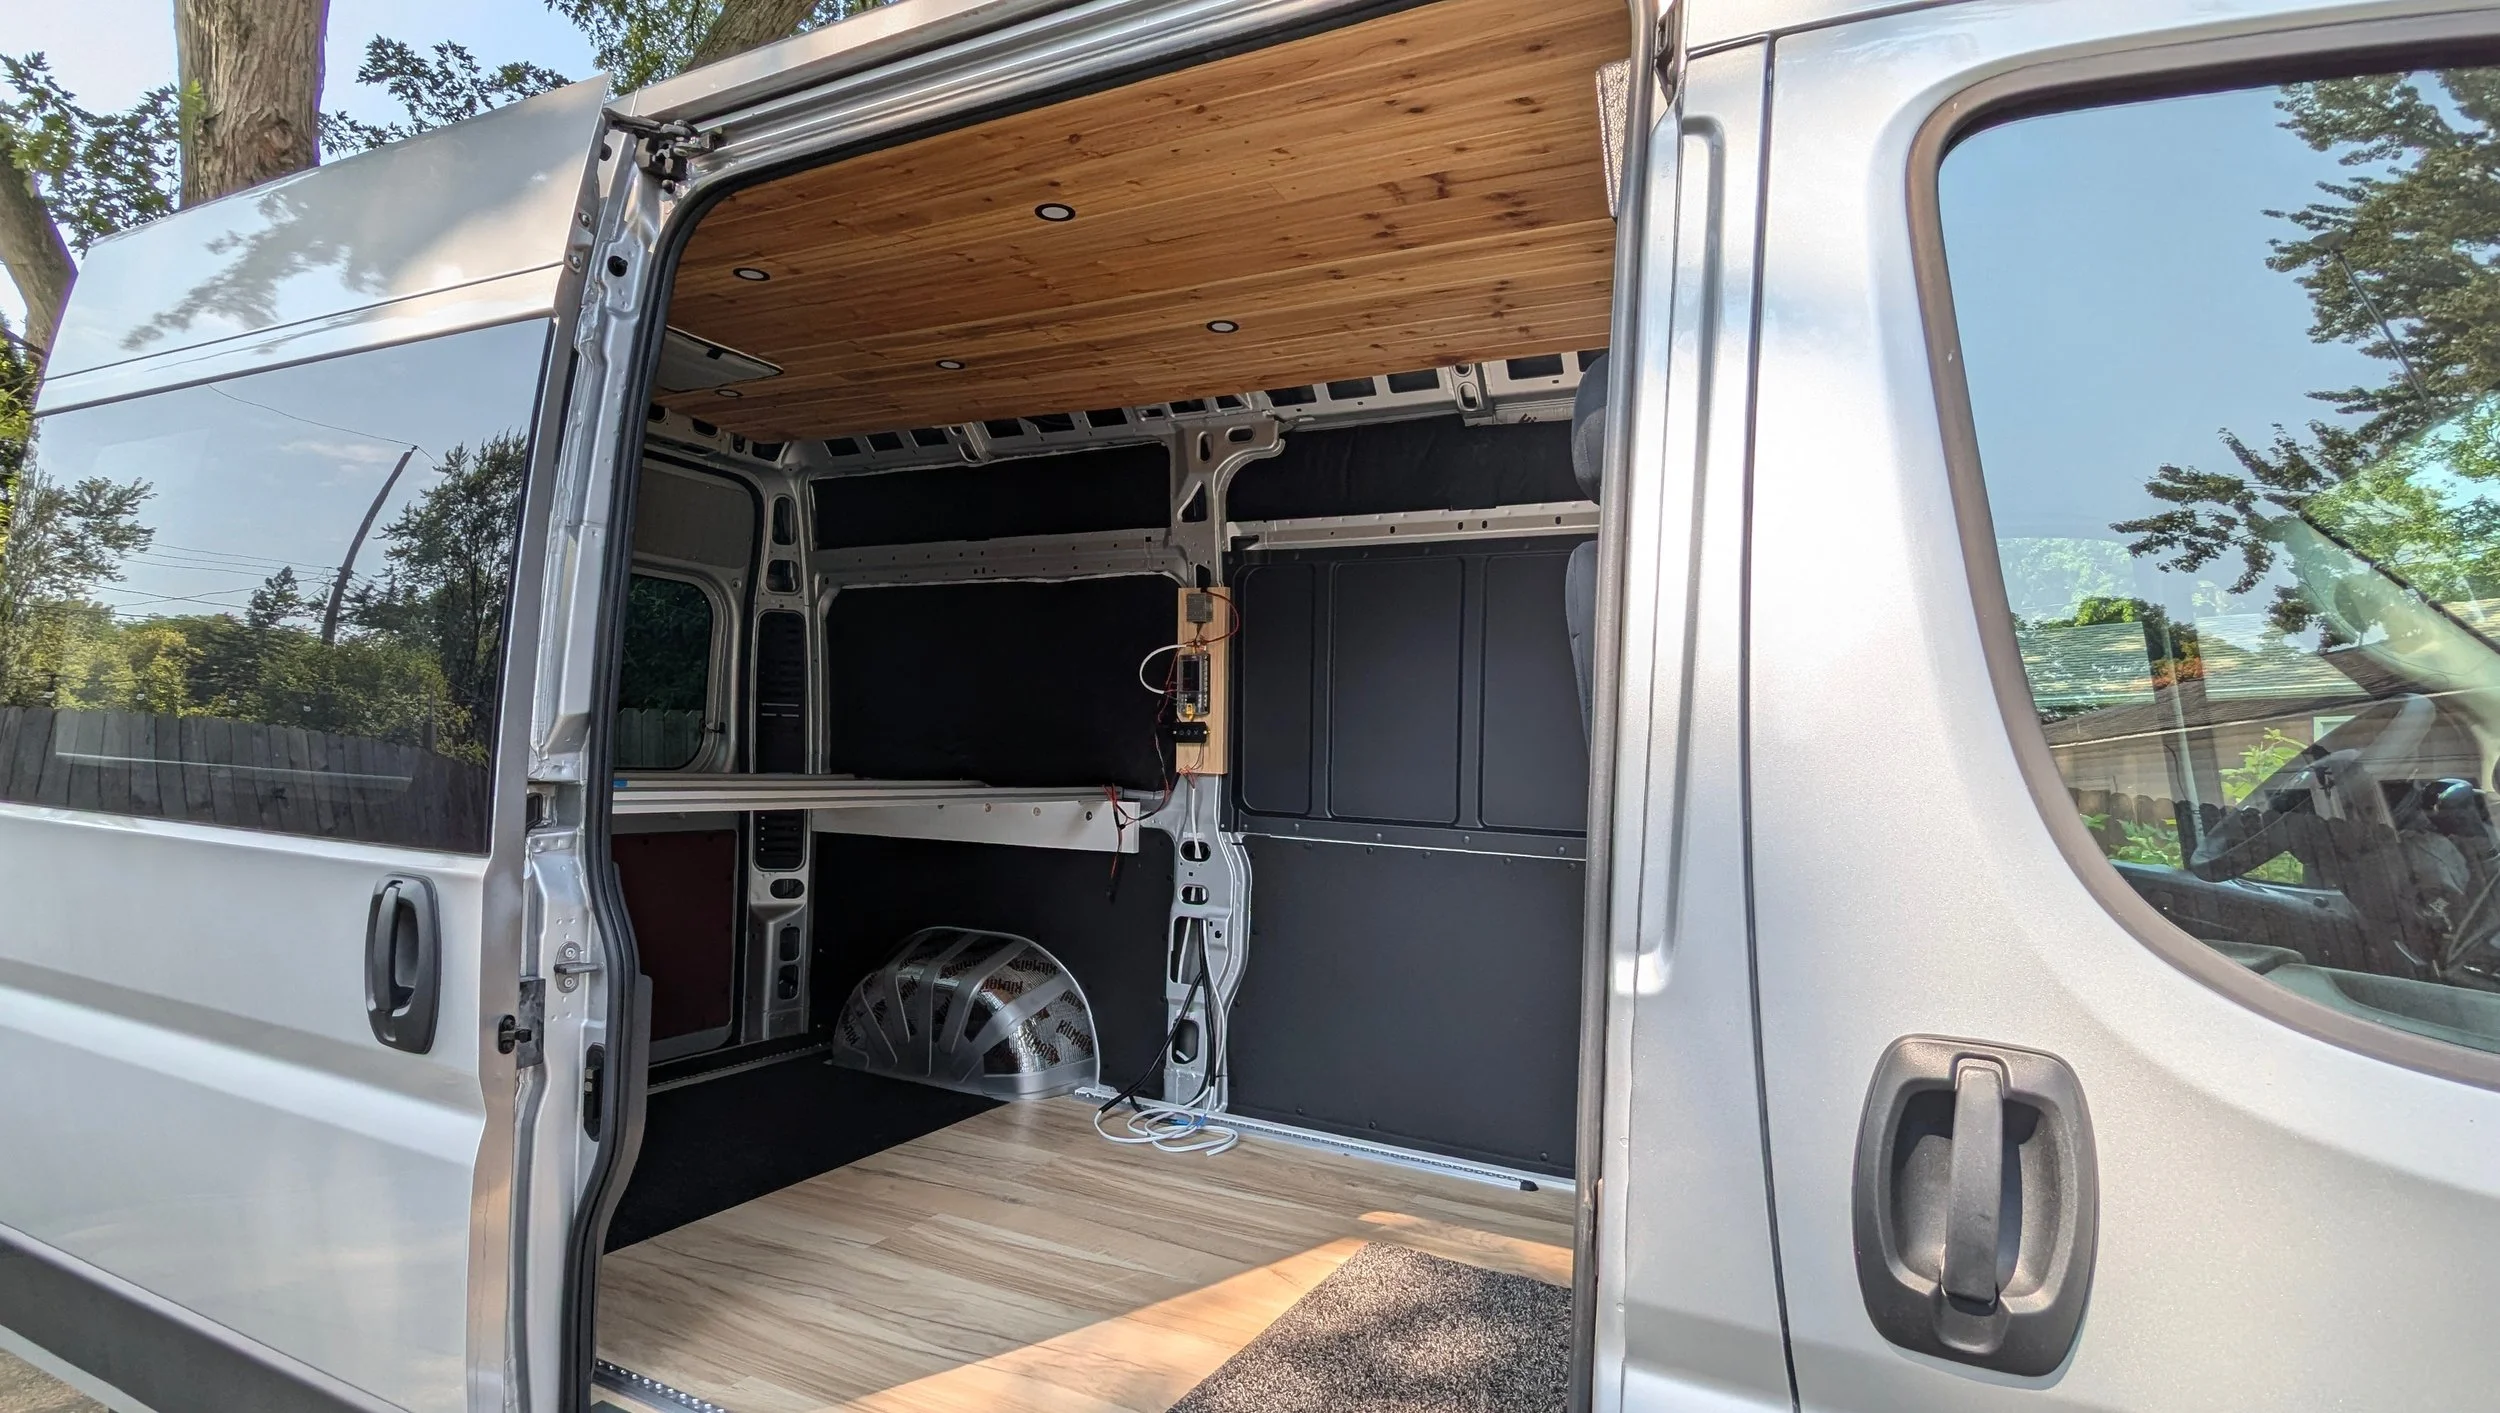
What next? I still have a long list of tasks, but I started working on the interior siding above the bed right away. I will be using the same nickel gap ship lap material on each side. At the foot end of the bed, there will be an upper cabinet (driver side) and on the opposite side will be more of a back rest / higher headroom area, plus more electrical fixtures for lights, fans, and changing a phone.

March 15, 2025 /David Snodgrass

The Sequence is All Wrong

October 28, 2024 by David Snodgrass

I’ve been building stuff in my van all Summer and into the Fall. Lots of cutting of wood and metal materials. Over the weekend I bought a German-made pencil sharpener. Probably should have done that in May…

October 28, 2024 /David Snodgrass

No Going Back

October 22, 2024 by David Snodgrass

I’ve been busy over the last month working on my main cabinets. There are lots of steps involved in building cabinets including all of the wood-working, priming and painting, and then the hardware within the cabinets.

The big step for me was getting enough progress where I could finally assemble and attach the cabinets to the van and not immediately regret it. The main kitchen pedestal cabinet will have 3 sliding drawers on the left. I’m pretty sure that I’ll be able to reach into the cabinet and line up the drawer slides - although it may be a tight enough fit that new swear words could get invented.

I even fitted a temporary counter top. I may use this as a template for the sink installation. If for no other reason, it sort of adds to the completed look. It will also help steady and align the backsplash material, which exists only in my imagination at this point. I’ve got a couple of ideas but haven’t committed to any materials yet.

So much to see. So much still to do. Coming soon…upper cabinets!

October 22, 2024 /David Snodgrass

How To Burn Through Spare Time

September 20, 2024 by David Snodgrass

I’ve been plugging away at my second cabinet, which will be adjacent to the first cabinet I built. It will also be attached to the foot of the bed. Since it goes from floor to ceiling, it has presented a few challenges, such as how to build it and still fit it in the van, how to secure it to the oddly shaped wall behind it, and how to add some cool features.

The answer to how to fit the cabinet was solved by me having excellent Lego skills. The cabinet will be inserted into place with two interlocking pieces.

After building the parts for the cabinet, I mocked it up as one tall cabinet and then figured out where to cut the sides so that it will be two pieces until the final installation. This actually makes all of the test fitting easier, as each part isn’t very heavy.

It fits!

I am thinking there will be two open compartments and one closed-in area in the top section. In the middle, I have a space where I will add a slide out counter. And the bottom part may have a drawer and a removable panel that enclosed the battery storage area. I also need to make room for power outlets and a light switch.

After several trips in and out of the van, the cabinets are back in the shop. Now I am building additional parts that will increase the strength and add attachment points that match up with the van wall. It will take a few more rounds of testing to get this right.

If all of this goes well, I will then build the cabinet face and begin sanding priming and painting. The interior will be simple shelves, so it should go quicker than the kitchen cabinet. Nothing to purchase other than some hinges, latches and paint.

September 20, 2024 /David Snodgrass

I'm A Tradesman Now - Cabinet Maker

September 06, 2024 by David Snodgrass

If I were still in the “for real” workforce, building some cabinets would definitely be a stretch assignment. Whether it is mastered via JIT learning, trial and error, or by over-researching, one way or another, you just have to start.

I likely will need as many as 5 or 6 separate cabinets. I started the week with the goal of building a power control center (and storage) cabinet next to the bed. Then I realized I didn’t have enough plywood on hand long enough to go floor-to-ceiling. But I had enough for the short “kitchen” cabinet, which will have drawers for cooking gear, a sink with fresh and gray water storage, and a couple special features. It also is a fairly common cabinet, so there were way more tutorial videos to learn from.

So I opened the AutoCAD software and starting designing the specifications for the CNC cutting machine…well, not exactly. I sketched a few rectangles in a notebook, took a few measurements in the van and then setup a cutting station out in the driveway. I was going to grind a bunch of plywood, so I wanted the sawdust to not be in the garage.

The photo at the top of the page shows the cut pieces, basically 4 panels and a bunch of stringers. The photo here shows the panels & stringers connected together. Since this is for a van and not a home, I used 1/2” plywood on the ends and combined two sheets in the center for some stability. The strings are 3/4 inch plywood. Everything is glued and mechanically attached with pocket screws. Hopefully this will be a good combination of lightweight and strong.

The next step was to build the face framing. I haven’t attached it permanently to the carcass yet as I still am measuring and drilling attachment points to the wall and the floor. The face frame still needs additional sanding, priming and painting, too.

You can see where the next cabinet will go. It will be more of a rectangle, but will fill the 74” height of the interior. This cabinet will be much more custom, as it will need access panels, cooling vents, will have features reachable from the bed, like lights, power plugs and fans.

Plenty of next steps, including choosing a cabinet paint color and a counter top stain. Another couple trips to hardware store coming soon.

September 06, 2024 /David Snodgrass

More Power!

August 25, 2024 by David Snodgrass

I spent some of my morning running wires into split loom while I can still access all the little nooks and crannies that the van has. This protects the wire from rubbing against any of the sharp metal ribs in the framing of the van that could cause short-circuits (or fire) down the road.

Now I have quite a few of the circuits wired and ready to connect lights, fans, USB charging, etc. I have a few of the fixtures to install, but I first need to build a power cabinet near the wheel well. Most of it will reside below the bed.

Until the cabinet is complete, I’ve mounted the fuse block, voltage regulator (for the fan) and the light switch on a temporary wood block. Everything but the switch will be hidden in the cabinet eventually. The current setup allows me to quickly test all the wiring in the meantime.

August 25, 2024 /David Snodgrass

Progress That Can Be Seen

August 20, 2024 by David Snodgrass

I was minding my own business at Home Depot a few days ago when I noticed that flooring was 50% off. So I made up my mind quickly and snagged a few boxes. As it turned out, to add the flooring to the front 2/3’s of the van only required 2 cases (with a single leftover panel). And it only took about 3 hours to install. The tricky bits were the first board, which needs to be square and the last board, which needed to be ripped length-wise. I also needed to locate the 4 attachment points fairly precisely, so the L-track could be reinstalled.

Just like in a house, the flooring has space (1/4”) on the perimeter to float/expand/contract if needed. It also means that at some point in the future, changing the flooring wouldn’t be impossible. On the sliding door side, I added some aluminum trim to hide the floor edges.

You can see that in the back of the under the bed frame, there will be a different type of floor. I will probably use something similar to the durable material that is used in home gyms. This area is essentially the truck or garage space, so a material that is waterproof and easy to clean and not too expensive is what I’ll look for.

You can also see what comes next, as I have the middle portion of the cedar ceiling complete, including the part that holds the puck lights. The next step is to hanging all of the wiring circuits that need to go from the driver side power source to the passenger side wall. Then I can continue installing the rest of the ceiling boards. I am trying to be methodical with this electrical step, think of all the places I’d ever want power and get the wires in the walls now. There will be no regret phase (I hope).

August 20, 2024 /David Snodgrass
  • Newer
  • Older